After having very much difficulty installing Dragon Naturally Speaking 12 on Ubuntu 12.04 with the latest version of WINE (WINE 1.5.20) I decided to look again at the AppDB. I found that Dragon Naturally Speaking had a Platinum rating for WINE 1.4, so I decided to give that version of WINE a try with PlayOnLinux, which I believe is a very effective tool for managing different WINE versions and profiles.
Obviously, PlayOnLinux is not a requirement for having WINE 1.4 installed on your machine. You could install WINE yourself and obtain this version, but for the scope of this tutorial, we will be using PlayOnLinux to manage the installation.
Install PlayOnLinux
It will be to your benefit to grab the latest version of PlayOnLinux from their repository, as this will probably be more recent than the version in your distro’s repository. This step is optional, but if you ignore it, you might not get the version of PlayOnLinux described in this procedure, and you might be missing new bugfixes and improvements.
sudo wget -q "http://deb.playonlinux.com/public.gpg" -O- | sudo apt-key add -
sudo wget http://deb.playonlinux.com/playonlinux_precise.list -O /etc/apt/sources.list.d/playonlinux.list
sudo apt-get update
Now, let’s install PlayOnLinux!
sudo apt-get install playonlinux
Install WINE 1.4 Inside PlayOnLinux
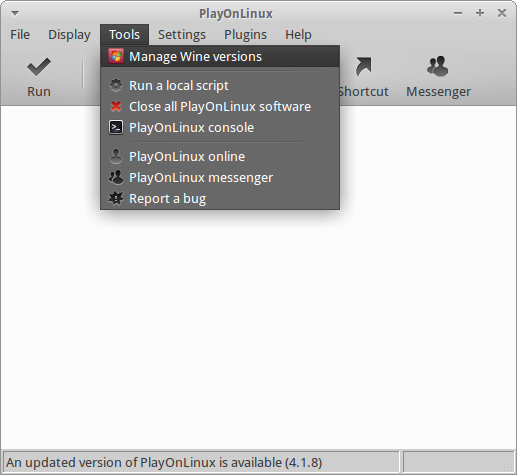
Go to the Tools menu, and select Manage WINE Versions.
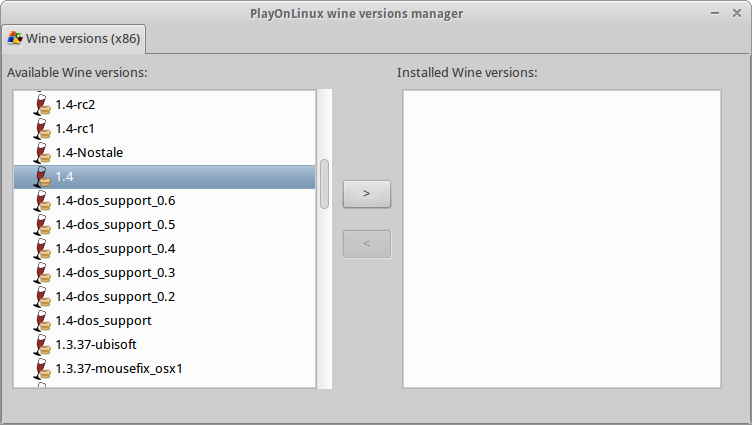
Select WINE 1.4, and press the Right Arrow to install the version.
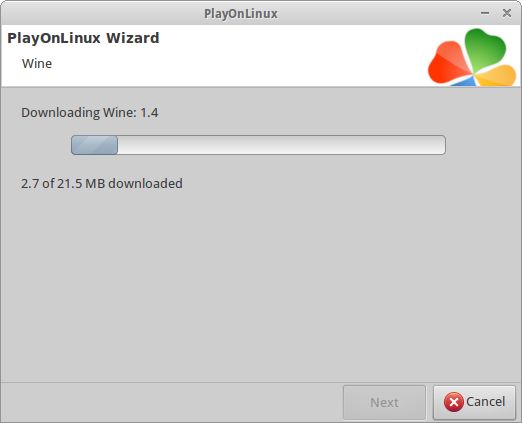
PlayOnLinux will download and install WINE 1.4 for you.
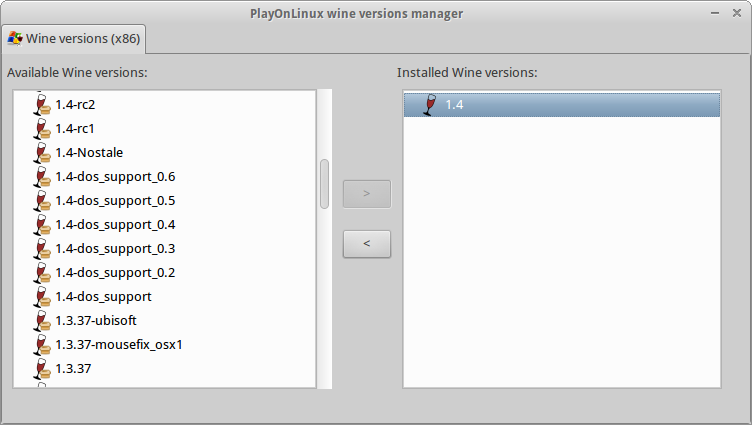
Once it’s installed, it will appear to the right.
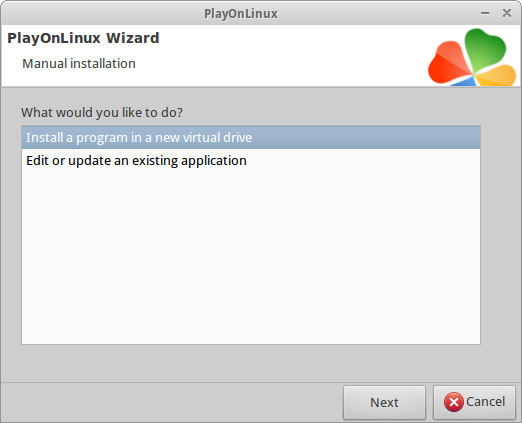
Close out of the WINE installation screen. Next, you’ll want to press the Install button in the PlayOnLinux window, to start installing a new Windows program.

Select “Install a new program in a new virtual drive.”
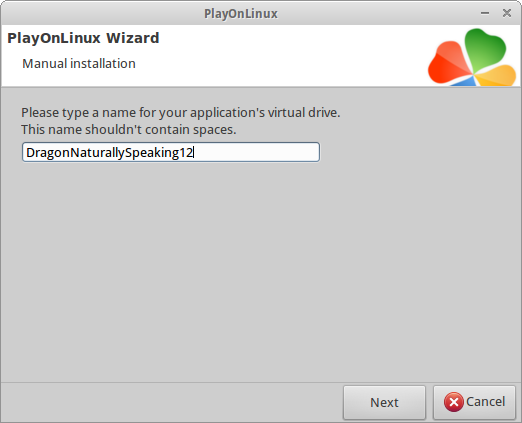
You can name your drive whatever you want. I called mine “DragonNaturallySpeaking12″.
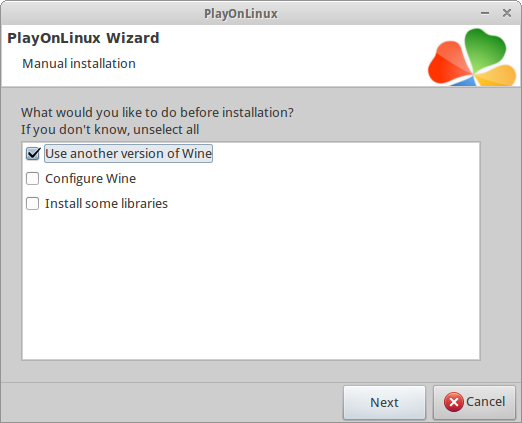
Go ahead and check “Use another version of WINE” and hit Next. This will allow us to manually select which version of WINE we want to use.
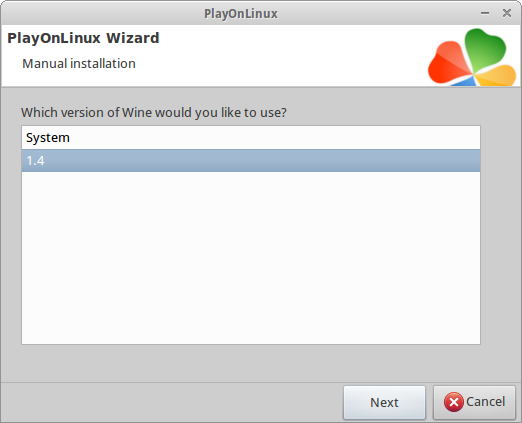
If you have used PlayOnLinux for other things, you may have more than one version of WINE installed, and that’s OK. We want to select 1.4. If you don’t have this option, please go back to the beginning of the tutorial and make sure you’ve installed WINE 1.4 using the “Manage WINE Versions” option on the Tools menu.
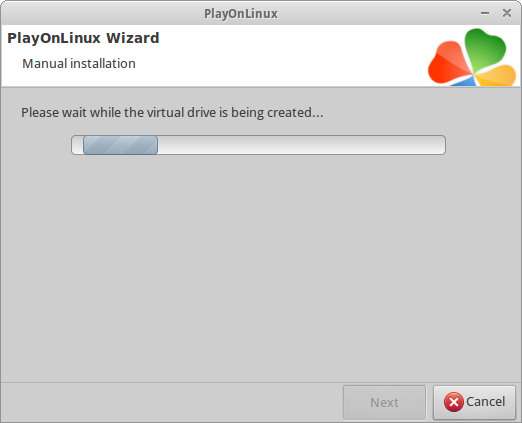
Now, PlayOnLinux will set up your virtual drive for you.
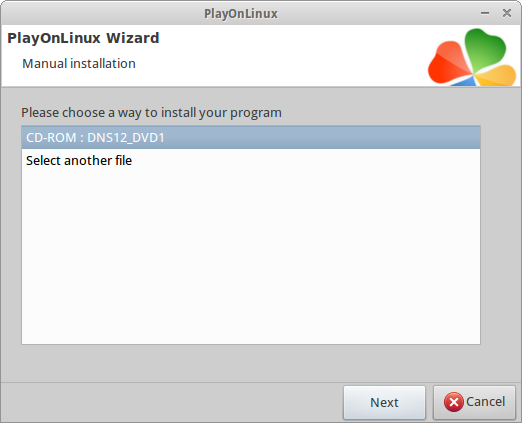
Assuming you have the Dragon Naturally Speaking 12 DVD, which I did, you want to select “CD-ROM” as the place to install your program from. As shown here. Then, hit Next.
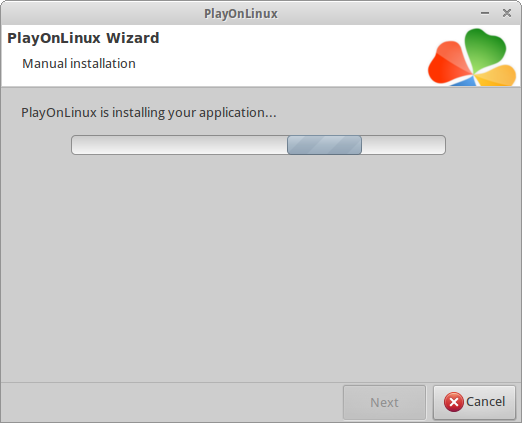
PlayOnLinux will do some steps to prepare for the installation.
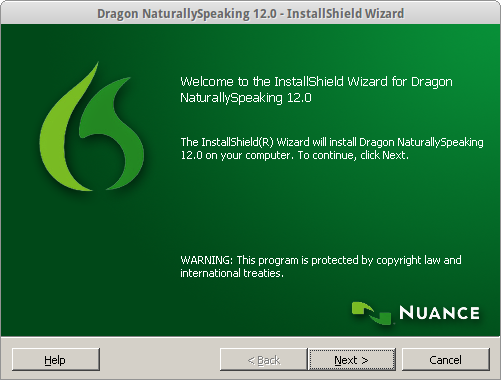
After a moment or two, the Dragon Naturally Speaking installer will start. As with any normal installer, click Next to begin.
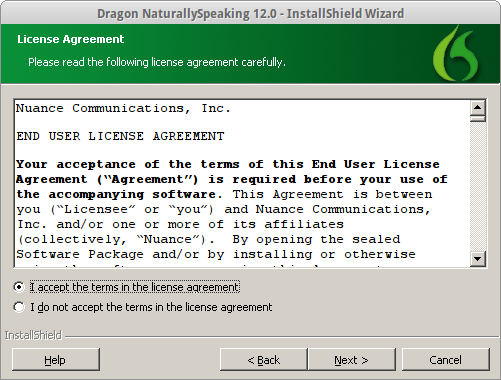
Read the license agreement. (Hah!) Then check “I accept the terms in the license agreement” and press Next.
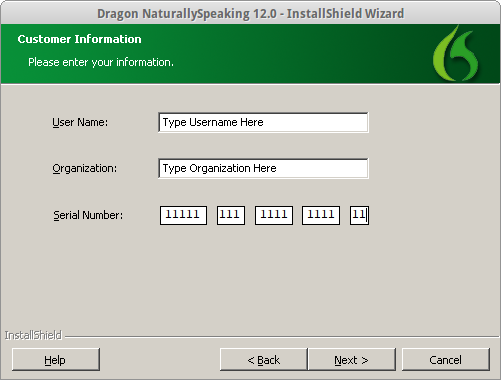
In the next window, you’ll want to substitute my filler information with your own. The serial number for my Dragon Naturally Speaking 12 installation was on the back of the paper DVD holder that contained my installation disk. Yours will probably be there as well. Once you’ve filled in your information, go ahead and hit Next.
I chose to do a Typical/Complete installation. I chose to leave the default location. The location will not interfere with any other WINE programs, unless you didn’t create a brand new virtual drive. If you did, then the default location should work just fine for you. If you have no idea, just leave this screen how it is, and press Next. (That will be fine for most cases.)
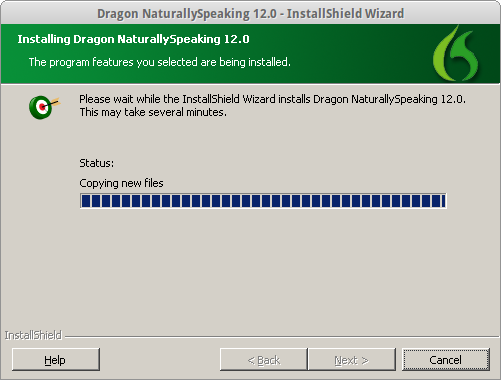
The installer will now copy some files.
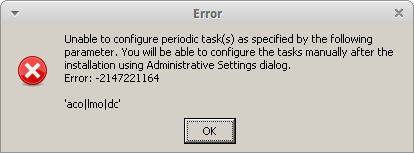
I got this error message. I ignored it and pressed OK.
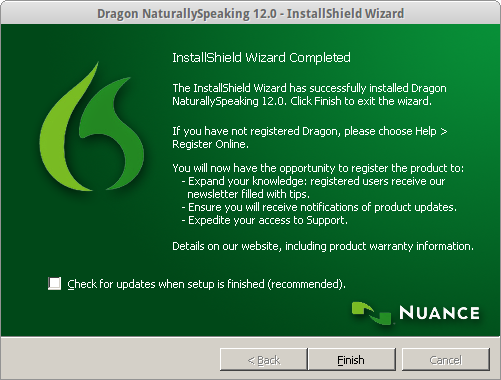
I decided I didn’t want to have Dragon Naturally Speaking check for updates on its own, as I have no idea how those will be installed… and I am using my Dragon Naturally Speaking in a professional installation where I will not be the user. I don’t want to put my end-user through a hostile upgrade experience later, I just assume update it myself down the road if necessary.
Once you’ve decided whether you want to risk the automated updates, hit Finish.
The installer created a .lnk file on my Ubuntu desktop, but I found that shortcut did not work, so I deleted it. I created my shortcut using the PlayOnLinux shortcut maker. You can find this by pressing the Configure button on top of your PlayOnLinux screen.
Select your virtual drive, and click the “Make a new shortcut from this virtual drive” button.

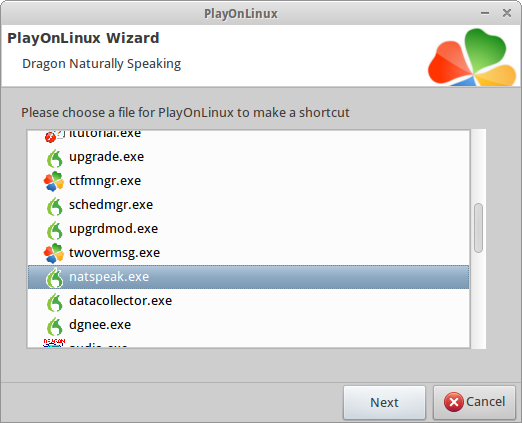
Find “natspeak.exe” and press Next.
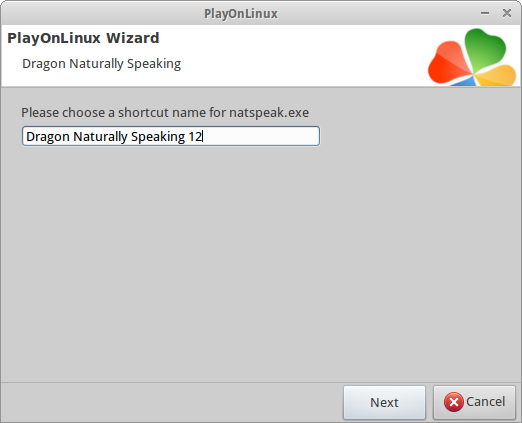
Obviously, you can name your shortcut whatever you want. I chose to name mine “Dragon Naturally Speaking 12″.
Close out of the shortcut maker when it’s finished, and you should now have a shortcut on your desktop to launch Dragon Naturally Speaking. Go ahead and launch it.
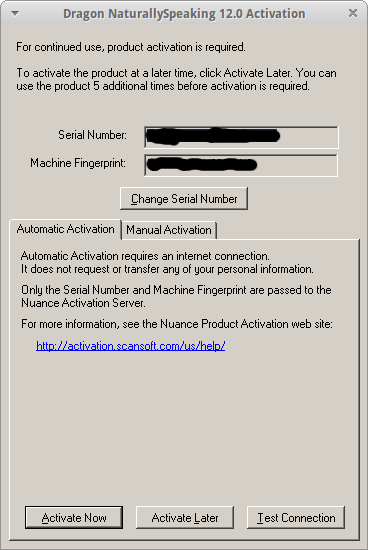
On first run, I had to activate Dragon Naturally Speaking. This process worked fine for me, so just press Activate Now.
Then, Dragon Naturally Speaking will fire up. Everything looks like it’s working well so far.
I did encounter some minor issues with Dragon Naturally Speaking, but all in all, it worked well enough that I am comfortable deploying it.
Some Issues I Had:
The Sidebar. I disabled the sidebar, because it seemed like every other time it launched, it caused the application to crash.
Where You Can Dictate. It seemed like dictation into Linux programs didn’t work. I could only dictate into DragonPad and Dragon Naturally Speaking itself. Even other WINE programs, like Notepad, seemed out of reach of Dragon’s dictation power.
I was quite surprised that some of the features like “Search Google for ____” actually worked, and actually launched my native Mozilla Firefox application. I did not have a huge amount of time to test the installation, but it will be going into production, so I’m sure if there are any other issues, I will find out about them. If anyone has any questions, please feel free to ask in the comments, and I will answer what I can. Keep in mind, I did not install Dragon Naturally Speaking on my own laptop, and my work only had a single license.
The reason I created this tutorial was not as a comprehensive guide, but so that someone who is searching Google for these instructions can find something. I was very disappointed at how little information I found on Dragon Naturally Speaking 12 with WINE. I am by no means an expert, just someone who spent a little too much time trying to get this working (see my other two blog posts here and here)… I hope someone found this useful and that I saved someone some time!


